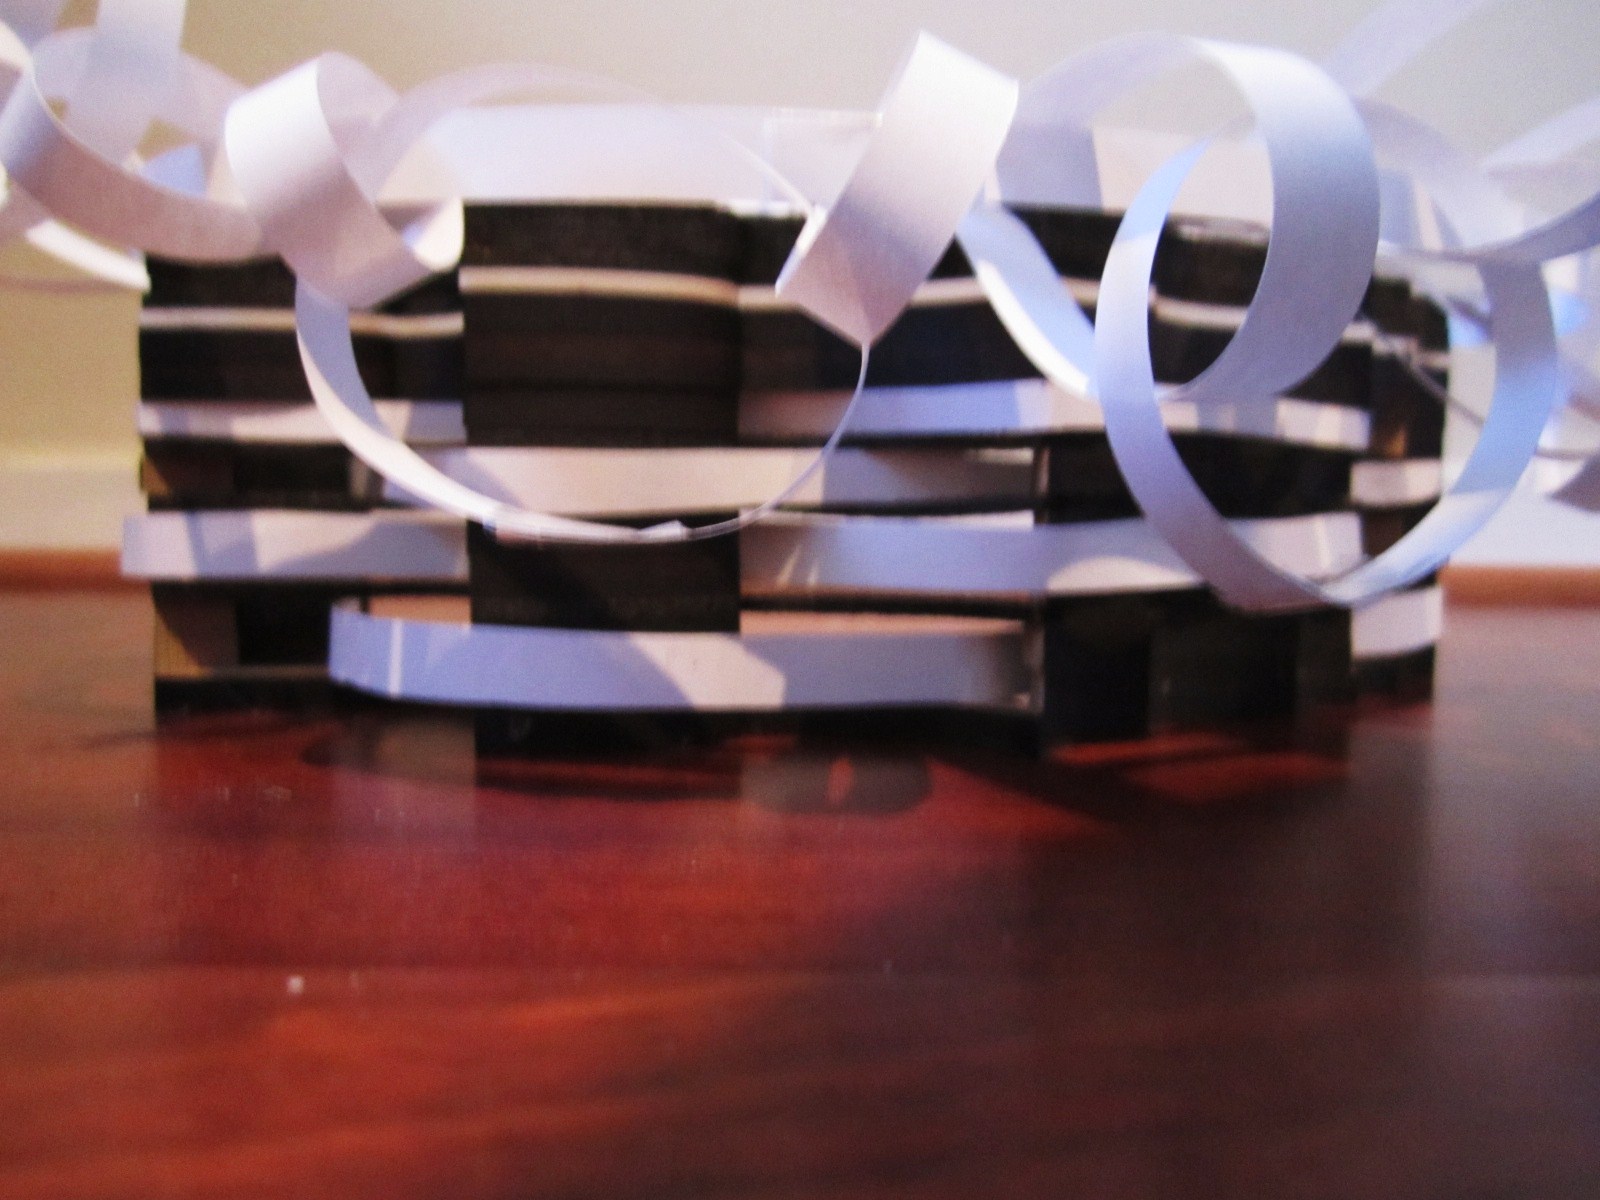
I took advantage of the very sunny day to take some photos of my model outside, to see the light effects created under natural sunlight. I am quite pleased with the way they turned out:
Tuesday, 27 September 2011
More changes to the model
I cut strips of cork to use as the main material in my weaving experiments. Although the roof design was interesting, I felt it could be taken further to enhance the materiality of the cork, rather than just being an mess of shapes. Therefore, I made a layered effect with different sized strips of cork at different levels, then weaved smaller strips throughout it. I am very happy with the end result.
The cork pieces didn't break (which they are liable to do, the thinner they get.) it casts a very interesting, assymetrical shadows as well as using cork in a different way than just a substitute for cardboard (after all, cork has much more flexibility.) I also weaved cork strips throughout the "gaps" in the cut wall design. I love the effect, the way they seem to enclose around the walls and almost give it a nest or basket like structure/shape.
The cork "weaving" around the structure, shown on the exterior but also entering the interior, linking them together. Here are some photos of the weaved roof design:
I took some experimental photos to see how it would turn out, quite interesting results!
(Temporarily being held on by office pins)
The shot of the interior that I liked the most, the shadows that would be cast during the day would make this a very interesting stop to wait in. I also made some benches/seats for good measure (even the little bits add to authenticity, after all, how can you have a tram stop without any seats?)
That's all for now - time to sleep.
Monday, 26 September 2011
Monday and chatting with the tutors
I came in today with my concept model and the experiments I'd done over the weekend. The tutors felt that I had too many ideas going on at once in my model, and perhaps I could "simplify" it. Also, instead of having such an emphasis on the expanding foam, I got some very good feedback for another direction this design could be developed into. Since I'd already established that cork is such a flexible material, I could almost knit or weave it into my structure. I could experiment with layers of cork/their relationship to the rest of the design as well as different thicknesses to create different effects. They also encouraged my asymmetrical design and that the cork manipulation could be "very exciting."
Unfortunately, I had already sent some files to the lazer cutter, but since they were the pieces for the wall, I felt they could still be manipulated. Hence, I decided on layering cork and MDF, but with sections of the MDF wall cut out. In this way, I could "weave" cork around the exterior of my stop, whilst still providing lateral protection and keeping with my original plan derived from the shape of lichen.
Stacking the pieces to show how this space would look. The spaces between would allow cork strips to be weaved through, enclosing the structure, I'd like to think of it wrapping around it like my beanie. I had the pieces cut at the lazer cutting workshop on Upper Queen St, as I was worried the workshop at Uni would be too full of people rushing to work on their 1:1 models (another workshop.)
Adding the perspex and gluing the pieces down - Really liking how it looks! Here are some experiements with plain white paper, seeing all the potential ways I can weave around my structure.
Going to work on bending cork, connecting it, layering and using different thicknesses. I have an idea in mind where it would almost look basket/nest like, a soft cork cage so to speak.
Sunday, 25 September 2011
Concept Model
For a start, I used the paper model I had made to plan out angles in my concept model for the roof. Unfortunately, I did not have so much cardboard to cut them into the shape and layer it (as the lazer cutter would do) however I had some modelling clay that was layer-like in appearance that I felt would be an appropriate substitute in this case.
Unfortunately, the model was not as neat as I wanted, however, it shows the idea and structure that I wanted to express without using the lazer cutter (which is closed during the weekend) I then placed the model onto the before-made stair mold. However, I've learnt a lesson for next time, as I was unable to remove the expanding foam from the wooden board I placed it on. Next time, I will use it on cardboard that will easily be cut and will still support the structure.
I wanted the expanding foam to grow around and "encrust" the stop, to make it look like it was literally growing out of the lichen/existing architecture.
Putting the cork shapes on a base
Since I plan on stacking MDF to create the wall of my tram stop, I had a slightly dilemmna on how to attach the cork shapes I'd previously been experimenting with. The idea came to me, that since I had already been using pins, I could make the few top layers of the wall cork instead of MDF, thereby giving the pins some grip and allowing the cork shapes to hold. Also, when I figured this out, I foresaw another problem. As interesting as my room design was, it didn't actually provide any roof protection from the rain. Hence, I came up with the idea that one of the layers in the wall would be perspex (a layer located between the MDF and cork) and would thus cover the stop and protect it from rain, whilst also allowing the roof design to remain undisturbed. Here is a photo of the roof design, simply placed on some MDF to show as one of my experiments:
And just when I though I wasn't having any problems, I tested a piece of cork that had the line engraving (previously mentioned) on it, only to find that it broke in several places at one. The strip was about 10mm thick, and would not work at all. However, the other experimental strips I lazer cut on Friday did not break in the slightest. Therefore, I realized that the engraving cannot A) touch the edge of the strip, and B) the strip must be wider than 10mm. Here is the broken strip:
The mold experiment
I put together the lazer cut stairs to create the stair mold yesterday, so that the expanding foam would be dry by today (if anything went wrong) I'm pleased to say that it went very well. A huge mess was made, which I expected, but the mold did work, although it required some cleaning up afterwards with a file to even out the bumpy surfaces.
The stair mold glued together (useful to note the effect of stacking MDF, which I intend to use for the walls.)
The mess of expanding foam left on the stair mold.
The mold! It turned out very well, and with a little bit of refining, will not only accommodate the tram stop but also really give a sense of a "growth" of a lichen like material extending from the existing architecture.
Subscribe to:
Posts (Atom)